
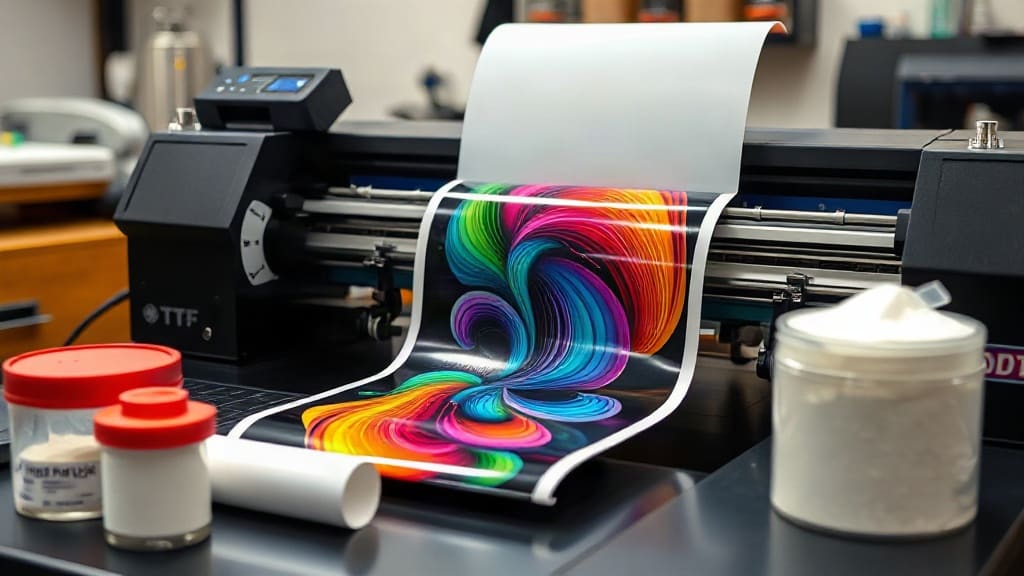
If you are looking for a versatile and cost-effective way to create custom apparel, DTF transfers are likely the answer. This printing method has taken the industry by storm, offering an accessible entry point for small businesses and hobbyists alike. In this guide, we will explore what DTF transfers are, how they compare to other techniques, and how you can achieve professional-looking results every time.
What Are DTF Transfers?
DTF stands for Direct to Film. It is a printing process where a design is printed onto a special PET film using a DTF printer and pigment-based inks. The printed film is then coated with a hot-melt adhesive powder. After the powder is cured, the film is transferred onto a garment using a heat press. The result is a vibrant, durable print that feels soft to the touch and can be applied to a wide range of fabrics, including cotton, polyester, blends, and even nylon.
Why Choose DTF Over Other Methods?
Compared to traditional screen printing or vinyl heat transfer, DTF transfers offer several distinct advantages:
- No weeding: Unlike vinyl, DTF does not require intricate weeding of designs. This saves time and reduces waste.
- Full color and detail: DTF can reproduce complex, multi-colored designs with high precision, making it ideal for photographic prints and gradients.
- Versatility: DTF works on almost any fabric type and color, including dark garments, without the need for a white underbase in most cases.
- Durability: The adhesive layer ensures the design withstands repeated washing and stretching, maintaining its integrity over time.
How to Make DTF Transfers: Step-by-Step
1. Prepare Your Design
Start with a high-resolution image. Use design software like Photoshop or Illustrator to ensure your artwork is at least 300 DPI. The design should be mirrored (horizontally flipped) before printing, so it appears correctly when transferred.
2. Print on PET Film
Load the PET film into your DTF printer. Ensure the printer is set to the correct settings for DTF, including the right ink density and print mode. The design should be printed in reverse (mirrored) on the film.
3. Apply Adhesive Powder
While the ink is still wet, cover the printed area with hot-melt adhesive powder. This powder is what will bond the design to the fabric. Make sure the entire printed area is covered evenly. Shake off any excess powder.
4. Cure the Powder
Heat the film and powder to melt the adhesive particles. You can use a heat press or a conveyor dryer. The temperature and time depend on the powder's specifications, but a common range is 120-150°C (248-302°F) for about 30-60 seconds. This step ensures the powder forms a solid adhesive layer.
5. Transfer to Garment
Place the film on the garment with the printed side facing the fabric. Cover with a Teflon sheet or parchment paper to protect the film. Apply heat and pressure using a heat press. Typical conditions: 150-170°C (302-338°F) for 15-20 seconds with medium to firm pressure.
6. Peel and Finish
After pressing, peel the film off while it is still hot or cold, depending on the film's instructions. Some films allow hot peeling, others require cold peeling. Once peeled, your DTF transfer is complete. For best results, press again with a cover sheet for an additional 5 seconds to ensure full adhesion.
Tips for Perfect DTF Transfers Every Time
Getting consistent, high-quality results requires attention to detail. Here are some expert tips:
- Calibrate your printer: Regularly check and calibrate your printer to ensure accurate color reproduction and consistent output.
- Use quality films and inks: Cheaper materials may save money initially, but they often lead to poor adhesion or color fading. Invest in reputable supplies.
- Test on scrap fabric: Before applying a design to a final product, test on a similar fabric to fine-tune your temperature and time settings.
- Handle film carefully: The adhesive side of the film is sticky and can attract dust. Store films in a clean, dry place and handle them by the edges.
- Mind the pressure: Too little pressure results in incomplete transfer; too much can cause the design to crack or distort. Use a pressure gauge if available.
Common Mistakes and How to Avoid Them
Many beginners face similar challenges. Here are the most common issues and solutions:
Design peels off after washing
This is usually due to insufficient curing or pressing. Make sure you cure the powder completely and use the recommended temperature and time for your specific film and powder combination.
Colors look faded or washed out
Check your printer settings. Ensure you are using the correct ICC profile for DTF printing. Also, verify that the ink is not expired or clogged.
Film sticks to the garment and won't peel
This often happens when the press temperature is too high or the pressing time is too long. Reduce the heat slightly and keep the pressing time within the recommended range.
DTF Transfers vs. Screen Printing: Which Is Better?
The choice between DTF and screen printing depends on your needs. Screen printing offers lower costs per unit for large orders, but it is less flexible when it comes to color changes and detailed designs. DTF transfers, on the other hand, are perfect for small batches, samples, or one-off items. They also allow for easy design changes without extra setup costs. For businesses that need to produce a wide variety of designs in small quantities, DTF is often the more efficient option.
Cost Considerations and Profitability
Starting with DTF requires an initial investment in a DTF printer, heat press, and consumables. However, the per-print cost is relatively low, especially if you produce in bulk. Many businesses find that they can offer competitive pricing while maintaining healthy profit margins. Additionally, the ability to print on-demand reduces inventory costs and waste.
Frequently Asked Questions
Can DTF transfers be used on dark fabrics?
Yes, DTF transfers work excellently on dark fabrics. The white adhesive layer acts as a base, preventing the garment color from showing through the design. This is a significant advantage over some other methods that require a separate white underbase.
How many washes can a DTF transfer withstand?
With proper application and care, DTF transfers can survive 50+ washes without significant fading or cracking. To maximize longevity, wash garments inside out in cold water and avoid using harsh detergents or bleach.
What temperature and time are best for pressing DTF transfers?
The ideal settings vary by film and powder brand, but a common baseline is 160°C (320°F) for 15 seconds with firm pressure. Always refer to the manufacturer's instructions and run tests to find the optimal settings for your materials.
Can I use DTF transfers on materials other than fabric?
DTF transfers are designed for fabrics, but they can be applied to other materials like canvas, leather, or wood, provided the surface can withstand heat and pressure. Test on a small area first to ensure adhesion.
Is DTF printing environmentally friendly?
DTF printing produces less waste compared to screen printing, as there are no screens to clean and fewer chemicals involved. However, the PET film is a plastic waste. Some manufacturers offer recyclable or biodegradable films, which can reduce environmental impact.
In conclusion, DTF transfers offer a flexible, high-quality solution for custom apparel printing. Whether you are starting a business or looking to expand your services, mastering DTF can open up new possibilities. With the right equipment and techniques, you can produce stunning garments that stand out in the market.