
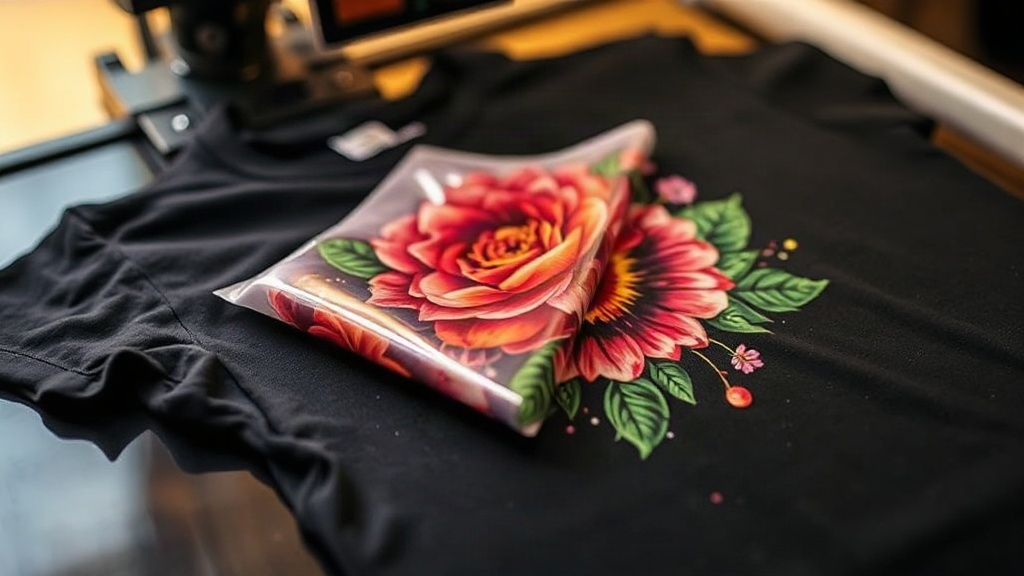
If you've been exploring custom apparel printing, you've likely encountered DTF transfers. This technology is rapidly gaining popularity for its versatility and vibrant results. Unlike traditional methods that require specific fabrics or complicated setups, DTF (Direct to Film) transfers offer a streamlined approach to printing detailed designs on a wide range of materials. Whether you're a small business owner, a hobbyist, or someone curious about customizing your own clothing, understanding DTF transfers can open up a world of creative possibilities.
In this guide, I'll walk you through the entire process, from preparing your artwork to pressing the final transfer. I'll share insights I've gathered from hands-on experience, including common pitfalls and how to avoid them. By the end, you'll have a solid grasp of DTF transfers and be ready to try them yourself.
What Are DTF Transfers?
DTF transfers are printed designs on a special film that can be heat-pressed onto fabrics. The process involves printing your design onto a PET film using specialized inks, applying a powder adhesive, and then curing it. Once cured, the transfer is ready to be applied to a garment with a heat press. The result is a soft, flexible print that bonds well to the fabric.
One of the key advantages of DTF transfers is that they work on almost any fabric, including cotton, polyester, blends, and even leather. This versatility makes them a favorite for those who want to print on a variety of items without investing in multiple printing methods.
How DTF Transfers Differ from Other Printing Methods
Compared to screen printing, DTF transfers don't require separate screens for each color, making them cost-effective for small batches and complex designs. Unlike DTG (Direct to Garment), DTF doesn't require pre-treatment of the fabric, and it can be used on dark and light garments with equal success. Vinyl cutting, another popular method, is limited to simple shapes and single colors, while DTF can reproduce intricate details and gradients.
Another benefit is the ability to print on demand. You can create a single transfer or a large run without the setup costs associated with other techniques. This flexibility is perfect for custom orders, personalized gifts, or testing new designs.
The DTF Transfer Process Step by Step
1. Design Preparation
Start with a high-resolution image. DTF printing can handle fine details, but low-resolution files may appear pixelated. Ensure your design is in CMYK color mode, as DTF printers use CMYK inks. If your design has white areas, they will be printed with white ink, so consider how that interacts with the fabric color.
Once your design is ready, you'll need to mirror it horizontally. This is because the transfer is pressed face-down onto the fabric, so the image must be reversed to appear correctly.
2. Printing
Load the PET film into your DTF printer. The printer will lay down a layer of white ink first (if your design requires it), followed by the CMYK colors. Some printers also print a white base layer to make colors pop on dark fabrics. After printing, the film passes through a powdering station where a hot-melt adhesive powder is applied. Excess powder is shaken off, and the film goes through a curing oven to melt the powder and set the ink.
Proper curing is crucial. If the powder isn't fully melted, the transfer may not adhere properly. Most manufacturers provide specific temperature and time settings for their powders.
3. Pressing
Set your heat press to the recommended temperature, usually around 325°F (160°C). Place the garment on the press, position the transfer face-down, and press for 10-15 seconds with medium pressure. After pressing, wait for the film to cool completely before peeling it off. This is known as a cold peel. Some films are hot peel, so always check the instructions.
For best results, use a Teflon sheet or parchment paper over the transfer to protect it from direct heat.
Tips for Successful DTF Transfers
- Fabric Matters: While DTF works on many fabrics, tightly woven materials like cotton yield the best results. Stretchy fabrics may cause the print to crack over time if not handled carefully.
- Pressure is Key: Insufficient pressure can lead to poor adhesion. Experiment with your press to find the right setting.
- Cool Down: Always let the transfer cool before peeling. Peeling too early can distort the design.
- Wash Inside Out: To prolong the life of your print, wash garments inside out in cold water and avoid harsh detergents.
I remember my first attempt at DTF transfers. I was so eager to see the result that I peeled the film while it was still hot. The design stretched and ruined. Lesson learned: patience is crucial.
Common Mistakes to Avoid
Even experienced printers make mistakes. Here are a few to watch out for:
- Insufficient Powder: If you don't apply enough adhesive powder, the transfer won't stick. Make sure the entire print is covered with a fine layer.
- Overcuring: Curing too long or at too high a temperature can make the transfer brittle. Follow the powder manufacturer's guidelines.
- Wrong Peel: Using hot peel on a cold-peel film will result in a mess. Always know your film type.
Another common issue is color fading after washing. This often happens if the transfer wasn't pressed at the correct temperature or if the garment was washed in hot water. Always test a sample first.
Applications of DTF Transfers
DTF transfers are incredibly versatile. They're used for custom t-shirts, hoodies, tote bags, caps, and even shoes. Small businesses use them for promotional items, sports teams, and event merchandise. Because they can be applied to so many materials, they're also popular for personalizing home decor items like pillowcases and canvas prints.
If you're considering offering DTF services, you'll find that the startup costs are relatively low compared to other printing methods. A good DTF printer, heat press, and supplies are the main investments.
Frequently Asked Questions
How long do DTF transfers last?
With proper application and care, DTF transfers can last as long as the garment itself. They withstand multiple washes without cracking or fading, especially if you follow the care instructions.
Can I use DTF transfers on dark fabrics?
Absolutely. DTF transfers include a white ink base that makes colors vibrant on dark backgrounds. This is one of their biggest advantages over other methods.
What equipment do I need to start with DTF transfers?
You'll need a DTF printer, a heat press, PET film, DTF ink, adhesive powder, and a curing oven (or a heat press for curing). Some printers come with built-in powder shakers and curing stations.
Do I need to pre-treat fabric for DTF?
No pre-treatment is required. Unlike DTG printing, DTF transfers don't need any special preparation of the fabric before pressing.
Can I layer DTF transfers?
Yes, you can layer DTF transfers to create multi-color designs, but it's generally easier to print the entire design as one transfer. If layering, press each layer separately and ensure proper adhesion.
DTF transfers have revolutionized custom apparel printing by making it accessible and versatile. Whether you're a beginner or a seasoned pro, incorporating DTF into your workflow can expand your offerings and delight your customers. Give it a try, and you might just find your new favorite printing method.