
Direct-to-film (DTF) printing has taken the custom apparel world by storm, offering unmatched versatility and vibrant colors. But if you're new to this technology, getting consistent, professional results can feel like a puzzle. This guide will walk you through everything you need to know to produce flawless DTF transfers, from file setup to final press. Whether you're a hobbyist or a shop owner, these insights will save you time, money, and frustration.
What Makes DTF Printing Different?
Unlike DTG (direct-to-garment) or screen printing, DTF printing doesn't require pre-treatment or specialized inks for each fabric. The design is printed onto a special film, coated with adhesive powder, and then heat-pressed onto the garment. This process works on almost any fabric, including cotton, polyester, blends, and even nylon. The result is a soft, stretchable print that holds up wash after wash.
Preparing Your Artwork for DTF
The key to a stunning DTF transfer starts with your digital file. Poor file prep leads to dull colors, jagged edges, or failed adhesion. Here's how to get it right.
Resolution and Color Mode
Always use high-resolution images (300 DPI or higher) in CMYK color mode. RGB files may look fine on screen but can shift dramatically when printed. If your design has fine details or small text, ensure it's crisp at the final print size. Vector files are ideal because they scale without losing quality.
Mirroring and White Ink
Don't forget to mirror your design horizontally. DTF transfers are pressed face-down, so the image must be flipped. Also, your printer software will generate a white ink base layer. This white layer is crucial for opacity on dark garments. Without it, colors would appear muted or transparent. Make sure your design includes a white underbase, either automatically or manually, depending on your RIP software.
Choosing the Right Materials
Not all films and powders are created equal. The quality of your consumables directly impacts the durability and feel of the final print.
DTF Film
Use high-quality DTF film designed for your printer. Cheap films can cause ink bleeding, poor powder adhesion, or difficulty peeling. There are two main types: hot peel and cold peel. Hot peel films allow you to remove the carrier sheet immediately after pressing while the transfer is still hot. Cold peel films require the transfer to cool completely before peeling. Each has its fans, but hot peel is generally more forgiving for beginners.
Adhesive Powder
The powder is what makes the transfer stick to the fabric. It's typically TPU (thermoplastic polyurethane) based. You'll find fine, medium, and coarse powders. Finer powders give a softer hand feel but may require more careful application. Medium powder is a good all-rounder. Apply the powder evenly using a shaker bottle or automatic powder applicator, then shake off the excess. Too much powder leads to a stiff, plastic-like feel; too little causes poor wash durability.
The DTF Printing Process Step by Step
Now that your file and materials are ready, let's walk through the printing and application process.
- Print the design: Load your mirrored file into the RIP software and print onto the DTF film. Ensure your printer is set to the correct ink profile and white ink settings.
- Apply powder: While the ink is still wet, sprinkle the adhesive powder over the printed area. Tilt the film and gently tap off the excess. You want a uniform coating that adheres to the wet ink but doesn't clump.
- Cure the powder: Place the film in a curing oven or under a heat press (with no pressure) at around 160°C (320°F) for 2-3 minutes, or until the powder melts and becomes glossy. This step is critical; undercuring leads to wash-off, overcuring can burn the film.
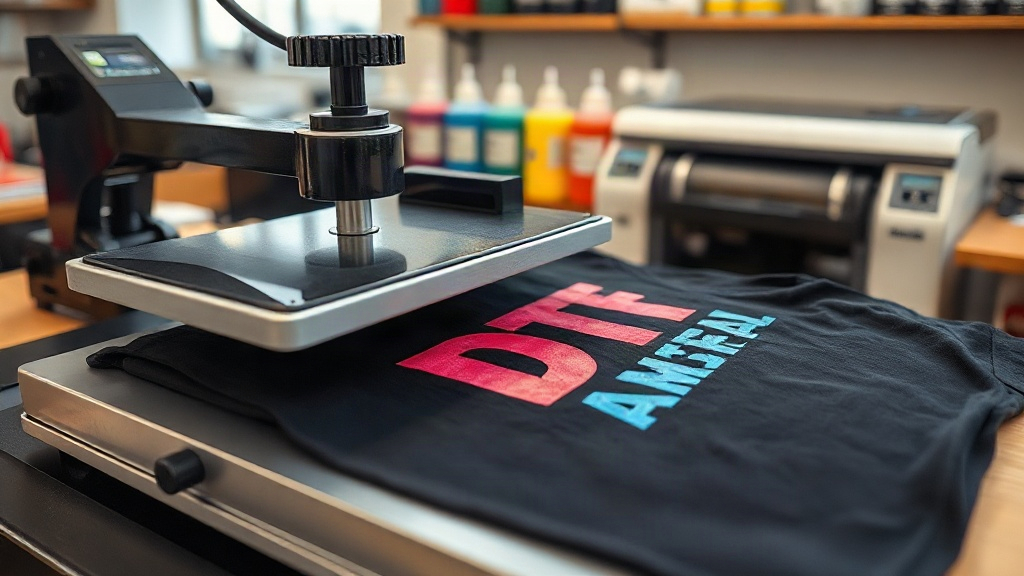
- Press onto garment: Set your heat press to 160°C (320°F) with medium pressure. Pre-press the garment for a few seconds to remove moisture. Place the transfer face-down on the fabric and press for 15-20 seconds.
- Peel and finish: If using hot peel, remove the carrier sheet immediately in a smooth, swift motion. For cold peel, wait until it cools completely. Then, for best durability, press again for 5-10 seconds with a protective sheet (like parchment paper) to fully embed the print.
Common DTF Problems and How to Fix Them
Even with careful preparation, issues can arise. Here are solutions to the most frequent complaints.
Print Cracking or Fading After Wash
This usually indicates insufficient powder or undercuring. Ensure the powder is evenly applied and fully melted. Also, verify that your heat press temperature and time are accurate; use an infrared thermometer to check the platen temperature.
Poor Adhesion or Peeling
If the transfer peels off, it could be due to low pressure, insufficient time, or a dirty garment. Make sure the fabric is free of lint and wrinkles. Pre-press to remove moisture. Increase pressure and ensure the entire transfer is covered by the press.
Color Looks Dull or Washed Out
This often happens when the white ink layer is too thin or missing. Check your RIP settings to ensure white ink is being printed. Also, using too much powder can scatter light and dull the colors. Try reducing powder amount slightly.
Film Sticks to the Press or Garment
If the film sticks, it might be due to overcuring the powder or pressing at too high a temperature. Lower the temperature slightly and reduce curing time. Also, ensure you're using the correct side of the film; the printed side should face the garment.
Frequently Asked Questions About DTF Transfers
Can I use DTF on any fabric?
Yes, DTF transfers adhere well to cotton, polyester, blends, nylon, leather, and even some treated woods. It's one of the most versatile printing methods available.
How long do DTF prints last?
With proper application and care, DTF prints can last 50+ washes without significant fading or cracking. Always wash garments inside out in cold water and avoid harsh detergents.
Do I need a special printer for DTF?
You can convert many inkjet printers to DTF with DTF ink and a RIP software, but purpose-built DTF printers offer better reliability and white ink circulation. If you're serious, invest in a dedicated DTF printer.
What's the difference between hot peel and cold peel DTF film?
Hot peel film allows immediate peeling after pressing, speeding up production. Cold peel requires cooling before peeling, which can yield a smoother finish but adds wait time. Choose based on your workflow and desired effect.
How do I store DTF transfers?
Store unused transfers in a cool, dry place, away from direct sunlight. Keep them flat to prevent creasing. Properly stored, they can last several months.
Final Thoughts
Mastering DTF printing opens up a world of possibilities for custom apparel. By following these guidelines, you'll be able to produce vibrant, durable transfers that impress your customers. Remember, practice makes perfect, so don't be discouraged by initial hiccups. With time, you'll develop a feel for the process and troubleshoot issues effortlessly. Happy printing!