
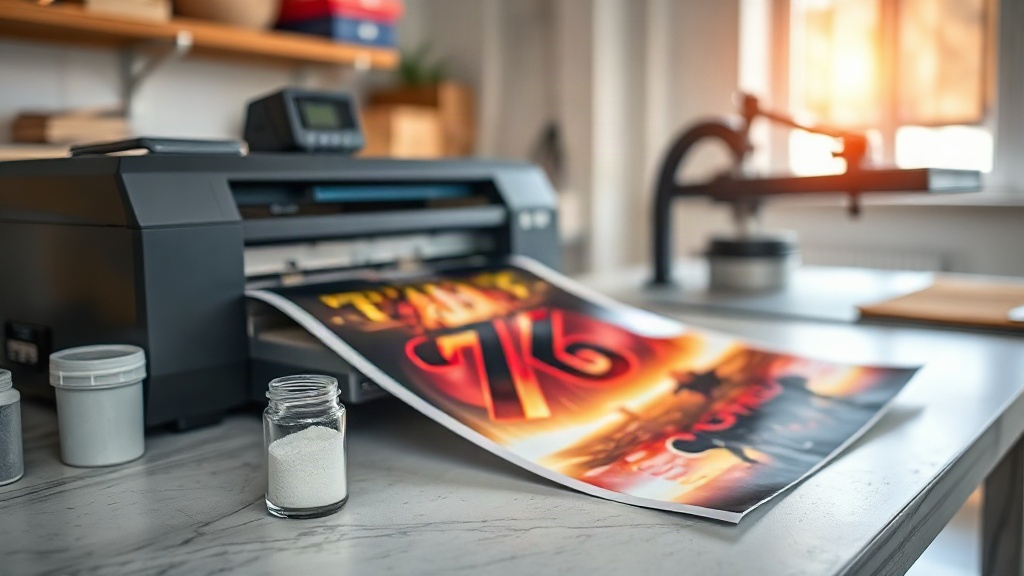
Walk into any custom apparel shop these days and you'll probably spot a desktop printer loaded with film instead of paper. That shift is largely thanks to DTF printing, a transfer method that has quietly become one of the most flexible ways to put full-color graphics onto fabric. Unlike older techniques that force you to choose between vibrant color and simple workflow, DTF gives you both, and it works on materials that used to be off-limits for heat transfers.
If you're trying to figure out whether this process fits your projects, the short answer is: it probably does. But the details matter. Fabric type, powder application, press settings, and even how you store finished transfers all affect whether your print survives fifty washes or peels off in a week. This guide covers the practical side, the stuff you actually need to know before your first run.
What DTF Printing Actually Is
DTF stands for direct-to-film. A printer lays down a mirror-image design onto a special PET film using water-based pigment inks. While the ink is still wet, you dust the print with a hot-melt adhesive powder, shake off the excess, and cure it. The result is a flexible, stretchy transfer that you can store for months and press onto fabric whenever you need it.
The key difference from DTG (direct-to-garment) is that you're not printing straight onto the shirt. You're printing onto a carrier, then transferring. That extra step sounds like a hassle, but it unlocks a lot. You can print a batch of transfers today and press them onto garments next month. You can send transfers to a partner shop across the country. You can press onto a cotton tee, a nylon jacket, and a canvas tote with the same design and the same process.
How the Layers Stack Up
A finished DTF transfer is really a sandwich. The film is the base. On top sits the ink layer, which holds your colors. Above that is the adhesive powder, which bonds to fabric under heat. When you press, the powder melts into the fibers, the film peels away, and what's left is a thin, elastic graphic that moves with the fabric instead of cracking when it stretches.
That elasticity is a big part of why DTF has taken over so much of the custom apparel market. Screen prints feel plasticky on large areas. Vinyl cracks. DTF sits somewhere in between, with a soft hand feel that holds up on everything from athletic jerseys to heavyweight hoodies.
Which Fabrics Work Best
One of the strongest selling points of DTF is fabric versatility. You're not locked into 100% cotton the way you are with DTG. Here's a quick breakdown of what to expect:
- Cotton: Excellent adhesion and color. The gold standard for most apparel.
- Cotton blends: Works well, though very high polyester content can shift the feel slightly.
- Polyester: Great results, but lower press temperatures help avoid dye migration on dark colors.
- Nylon and spandex: Doable with careful temperature control. Stretch is your friend here.
- Canvas and denim: Works, but the texture shows through the print. Plan accordingly.
- Leather and treated surfaces: Possible on some finishes, but always test a scrap first.
The one thing that trips up beginners is dye migration. On dark polyester garments, the dye in the fabric can bleed upward into your print when heat is applied. The fix is usually a lower press temperature, a shorter dwell time, or a blocker layer if you're printing a lot of dark poly.
Press Settings That Actually Work
Every press runs a little differently, so treat these numbers as a starting point, not gospel. Adjust based on your results.
- Temperature: Around 300 to 320 degrees Fahrenheit for most fabrics. Drop to 280 to 300 for polyester.
- Pressure: Medium to firm. You want even contact across the whole transfer, not crushing force.
- Time: 10 to 15 seconds for the initial press, then a short second press of 5 to 10 seconds after peeling the film.
- Peel: Hot peel for most films. Some specialty films are cool peel, so check the spec sheet.
The second press is easy to skip and easy to regret. That short follow-up pass re-melts the adhesive and pushes it deeper into the fibers, which is what keeps the print from lifting at the edges after a few washes.
Powder Application Matters More Than You Think
Beginners often focus on ink and film and treat the powder as an afterthought. That's backwards. The powder is the adhesive, and how you apply it decides whether your transfer stays put.
You want an even, light coating. Too little powder and the edges curl. Too much and you get a stiff, crusty feel that customers notice immediately. Shake the excess off gently, and if you're working in a humid room, cure the powder promptly. Moisture in the air can clump it and ruin an otherwise perfect print.
Curing and Storage
After powdering, the transfer needs to be cured. A heat press works, and so does a dedicated curing oven if you're producing volume. The goal is to melt the powder into a smooth, glossy layer without scorching the film. Once cured, transfers can be stacked with a sheet of parchment or silicone paper between them and stored flat in a cool, dry place. Avoid direct sunlight and humidity.
Stored properly, most DTF transfers keep for six months to a year without noticeable loss of quality. If you're running a shop, date your batches. It takes two seconds and saves you from guessing later.
Common Mistakes and How to Dodge Them
Most failed transfers trace back to a handful of preventable issues. Here are the ones I see most often:
- Pressing too hot on polyester: Causes dye migration and scorching. Lower the temp.
- Skipping the second press: Leads to lifting edges after washing.
- Uneven powder: Produces patchy adhesion and a rough feel.
- Printing on a wrinkled shirt: The wrinkles press into the transfer and never come out.
- Forgetting to mirror the design: A classic first-timer mistake. Check your print settings.
None of these are hard to fix once you know they exist. A scrap garment and ten minutes of testing will teach you more than a week of reading.
Is DTF Right for Your Project?
If you need full-color graphics on a range of fabrics, short runs without setup fees, or the ability to print on demand and store transfers, DTF is hard to beat. It's not the answer for every job. Very large solid-color areas still look and feel better as screen prints, and if you're producing thousands of identical shirts, screen printing usually wins on cost per unit. But for small batches, mixed fabrics, and detailed artwork, DTF is the practical choice.
The learning curve is short. The equipment is accessible. And the results, once you dial in your press and powder routine, look professional enough to sell without apology.
Frequently Asked Questions
How long does a DTF print last on a shirt?
With proper pressing and normal washing, a well-made DTF transfer typically lasts through 50 or more wash cycles. Wash inside out in cold water and avoid high-heat drying to stretch that lifespan further.
Can I use DTF on 100% polyester athletic wear?
Yes, and it performs well, but you need to lower your press temperature to avoid dye migration. Test on a scrap piece first, especially on dark colors where bleeding is most visible.
Do I need a special printer for DTF?
You need a printer designed for DTF, or a converted inkjet with DTF-compatible inks and a film feed. Standard home printers won't work because the inks and film are formulated specifically for the transfer process.
What's the difference between DTF and DTG?
DTG prints directly onto the garment and works best on 100% cotton. DTF prints onto film first, then transfers to fabric, which opens up polyester, blends, nylon, and more. DTF also lets you stock transfers for later use.
How should I store unused DTF transfers?
Keep them flat, cool, and dry, with parchment or silicone paper between layers. Avoid humidity and direct sunlight. Stored this way, most transfers stay usable for six months to a year.